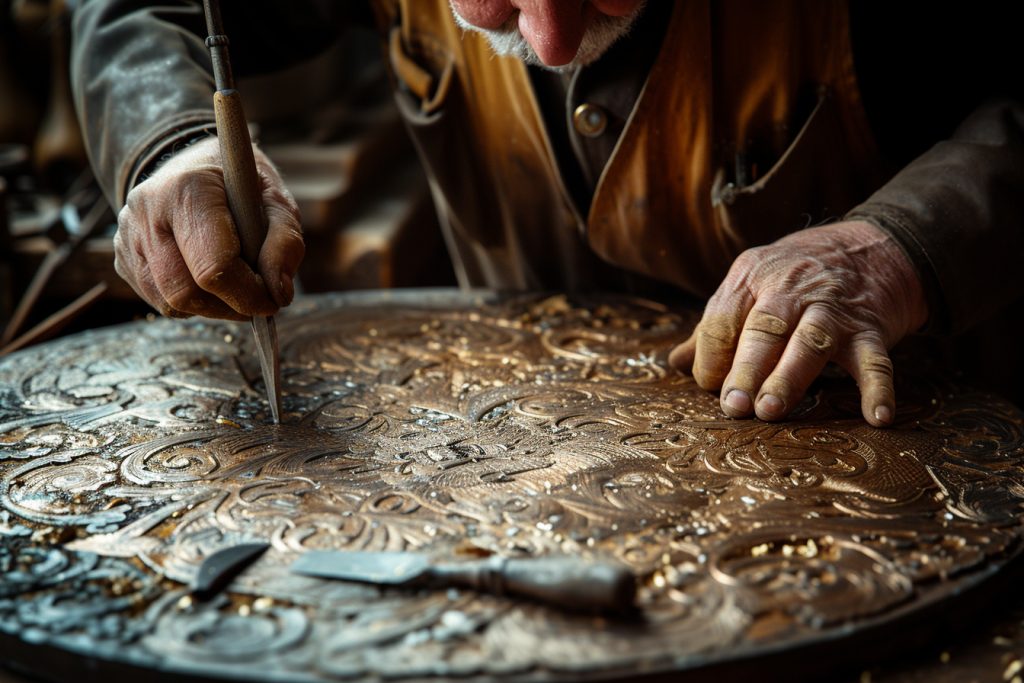

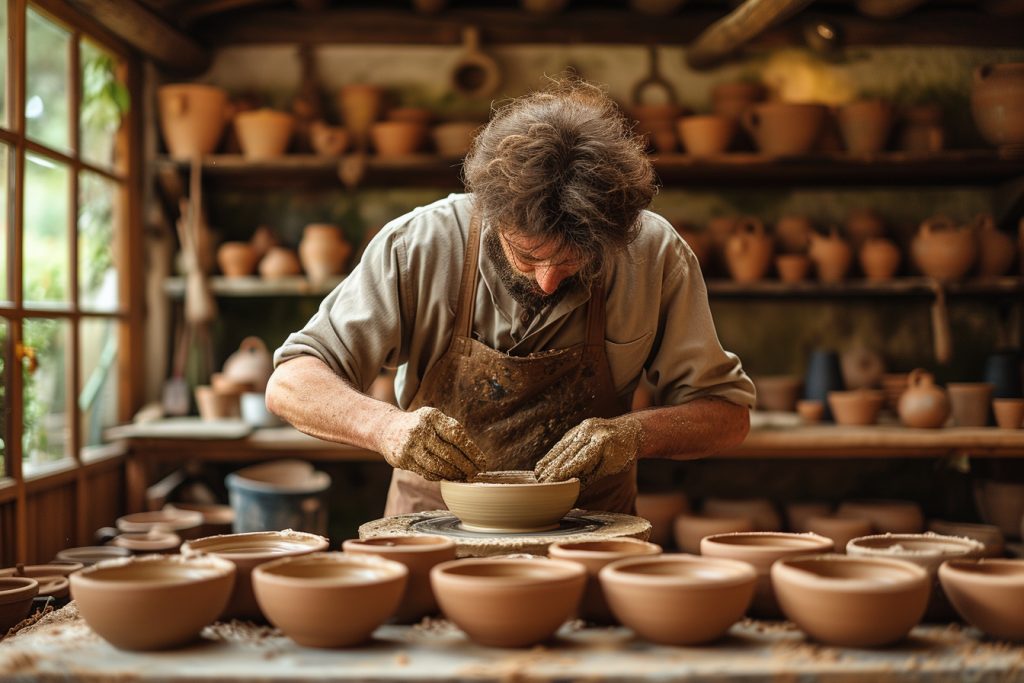
Pottery throwing stands as an enchanting mix of art and alchemy. Watching a skilled potter can make the craft appear deceptively simple, but the process of transforming a lump of clay into a finished piece is one of controlled finesse and applied knowledge. Here’s your comprehensive guide to the world of pottery throwing, offering a sequence of techniques aimed at setting you on the path to mastery.
Understanding the basics of pottery throwing
Before a potter even approaches the wheel, a fundamental grasp of the materials is essential. The type of clay, its preparation, and the potter’s connection with this foundational medium can greatly influence the outcome of the finished piece.
Types of Clay: Different clays offer varied results when thrown. High plasticity clays, such as porcelain, may be more challenging for beginners, whereas stoneware presents a forgiving texture that’s suitable for learning.
Wedge Your Clay: This critical step removes air pockets and homogenizes the moisture level in the clay, reducing the likelihood of imperfections. Techniques such as kneading or spiral wedging serve this purpose and also align the clay particles, giving a smoother throwing experience.
Setting up your workspace
An organized and well-equipped workspace contributes to an efficient throwing process. Ensure that you have all the necessary tools within reach—a sponge, ribs, a wire cutter, and various shaping tools should be part of your pottery arsenal. Appropriate seating height in relation to the wheel is also imperative to maintain control and comfort throughout the throwing process.
Centering the clay
Initial positioning
Place the prepared ball of clay firmly in the center of the wheel head. Starting the wheel at a medium speed, press down on the clay with damp hands, seeking to remove any wobble. This process may seem like a tussle at first, but patience and steady, confident pressure are key.
Achieving true center
Once the clay is moving uniformly with the wheel and no longer wobbling, use the palms of your hands to guide it into a central mound. The objective is to have the clay completely centered, producing a smooth and even rotation with no deviation.
Opening the clay and forming the base
Making the initial well
With the clay centered, use your thumbs or fingers to push downwards into the center of the clay, creating a well. This indentation will eventually become the inside bottom of the pot.
Setting the floor thickness
Ensure that the base of the well is of consistent thickness. Use a needle tool to measure and establish the floor’s thickness. A common beginner’s mistake is to leave the base too thick or too thin; a uniform thickness is crucial for the structural integrity of your pot.
Pulling up the walls
The first pull
With synchronized movements, place one hand inside the well and the other on the outside. Gently squeeze the clay between your fingers, using a steady upward motion to raise the walls of your piece. Keep the wheel at a constant speed and be mindful of the pressure applied to avoid thinning the walls unevenly.
Consistency and height
Strong, even movements define successful pulls. Use each successive pull to refine the shape and increase the height. The walls should rise uniformly, and the shape should gently evolve toward the pot’s final form.
Shaping your pottery
Delicate touches
Shaping is more than aesthetics; it’s also functional refinement. Ribs, whether made of wood, metal, or rubber, aid in contouring the clay, ensuring smooth surfaces and consistent curves. Transition from thicker to thinner sections gradually to avoid collapsing or warping the form.
Controlling the silhouette
The inside hand guides while the outside hand shapes. The silhouette of your piece blossoms from the conversation between your motions and the clay’s response. This dialogue is one of tactile intuition, guiding you to the desired form be it a bowl, mug, or vase.
Refining the rim and the foot

The rim
Rims require a deliberate touch. With a slightly damp sponge, support the rim as you refine its shape. A round, strong rim presents a pleasing finish, while a smooth, flat rim is both practical and appealing for items such as plates.
The foot
Defining the footring gives your piece stability. Carving a clean footring with a trimming tool can elevate the functionality and aesthetics of your pottery. Learning to throw with a defined foot in mind ensures the piece is complete from top to bottom.
Drying and trimming
Leather-Hard stage
When the clay reaches a leather-hard state, it’s primed for trimming. Carefully invert your pot on the wheel and secure it before trimming away excess clay from the bottom. This step refines the piece’s form and balances the footring.
Precision trim
Trimming should be as considered and precise as throwing. It’s an opportunity to correct imperfections and hone the final shape of your piece. A rib or trimming tool can facilitate this precise work, allowing for the creation of footrings, side walls, and contours that align with your vision.
Finishing touches
Burnishing and smoothing
Burnish the surface with a soft rib to compress any remaining rough areas, laying the foundation for an even glaze application. This step is about finessing the tactile qualities of your piece, it’s the final flourish before the bisque firing.
Cleaning and preparing for firing
It’s essential to remove any remaining debris and smoothen out fingerprints. Ensure your pottery is bone dry before it enters the kiln for the bisque fire, as any residual moisture could result in cracks or explosions in the piece.
Crafting pottery on the wheel is a skill steeped in tradition and requiring dedicated practice. Each step in the throwing process builds upon the previous one, and mastery comes with time and persistent effort. Patience, precision, and a deep respect for the clay are the hallmarks of a developing potter. As a craft of both art and science, the continuous study of techniques and a commitment to refining your ability will guide your hands in the dance of creation that is pottery throwing.