

Transforming a blank wall into a captivating mural can infuse your space with personality and style. Whether you’re an aspiring artist or a DIY enthusiast looking to unleash some creativity, this step-by-step guide will help you craft your very own wall mural. With the right preparation and techniques, you can create a stunning piece of art that will enliven any room.
Pre-Production: planning your wall mural
Choosing the Perfect Design
Before picking up a paintbrush, you need a clear vision of what your mural will look like. Think about the mood you want to set or the story you wish to tell. Seek inspiration from a range of sources, such as nature, abstract patterns, or your own experiences. Sketching some preliminary concepts can help solidify your idea.
Wall Selection and Preparations
The success of a mural heavily depends on the wall you choose. Look for a smooth, clean surface without structural issues such as cracks. Ensure the wall is also washed and dried to create the perfect canvas. For outdoor murals, weather-proofing is essential to safeguard your artwork from the elements.
Gather Your Supplies
Having the right tools and materials is crucial for a seamless mural-painting process. Your toolkit might include:
- Primer
- Acrylic or latex paints
- Variety of brushes and rollers
- Paint trays
- Painter’s tape
- Drop cloths
- Ladder or step stool
- Projector (optional for design transfer)
- Pencil or chalk (for sketching your design)
Step 1: priming your canvas
Applying a coat of primer ensures that the paint adheres better and the colors stand out. Choose a primer suited to your wall type—whether it’s drywall, concrete, or something else. For a mural, use a white or neutral-colored primer to provide a blank slate.
Step 2: transferring your design
Freehand Drawing
For artists confident in their freehand skills, take your sketch and replicate it on the wall using a pencil or chalk. Use a grid method if needed, dividing your sketch and the wall into equal squares to make the transfer process easier.
Projector Method
If precision is paramount, or you’re working from a digital design, a projector can be your best friend. Project your image onto the wall and trace the outline. This method guarantees that your proportions and perspectives remain accurate.
Step 3: outlining your mural
With the design transferred, outline your mural using a pencil, pen, or thin brush. This step will guide you when applying paint and help prevent any mishaps. Opt for light strokes; these outlines should be easily covered by paint later on.
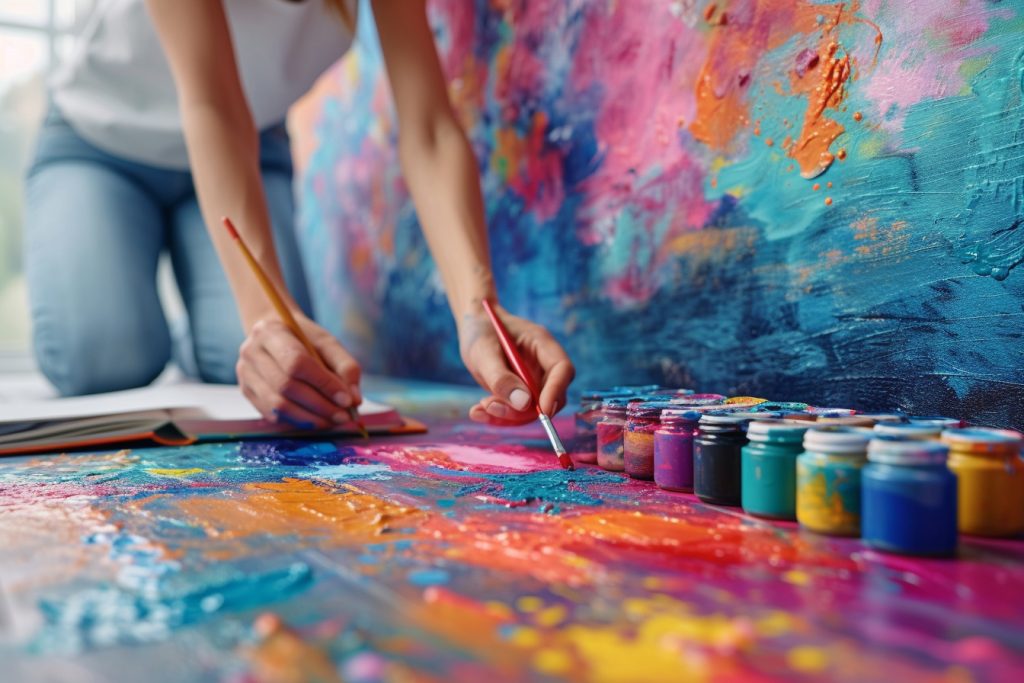
Step 4: color blocking
Start to fill in your mural with colors, working from the largest areas to the smallest details. This technique is called ‘color blocking’ and helps keep the process organized. Use larger brushes or rollers for big sections and switch to smaller brushes for tighter spaces. Don’t worry about blending or perfect details at this phase; focus on clean, solid color application.
Step 5: adding details
After the base layers of your mural have dried, it’s time to add the details that will bring your artwork to life. Employ a variety of brushes to achieve different textures and effects. Consider layering colors for depth and shading to give your mural a three-dimensional look.
Step 6: finishing touches
Inspect your mural closely and touch up any areas that need refinement. Clean up the edges and look for spots that may require an additional coat of paint. This attention to detail will ensure a professional and polished look.
Step 7: sealing your mural
Protect your finished mural by applying a sealant. For interiors, a water-based varnish works well to prevent smudging and fading. Outdoor murals benefit from specialized sealants that offer UV protection and weather resistance.
Troubleshooting common mural-painting challenges
Bleeding Edges
Sometimes paint seeps under the tape or beyond your intended lines. A steady hand and quality painter’s tape can mitigate this risk. If bleeding occurs, wait for the paint to dry before making corrections with a background color.
Color Mismatch
It’s possible that the colors on your wall look different from your initial plan. Lighting can significantly affect how colors appear. Always test your colors on a small section before committing to the entire mural.
Paint Drying Too Quickly
When blending or working on intricate details, you may find the paint dries faster than you’d like. Keep a spray bottle with water nearby to mist the wall, helping to extend the paint’s workable time.
Empower yourself with these techniques and your mural will blossom from concept to completion without the need for professional intervention. Remember, creating a wall mural is both an art and a journey—every brushstroke is an expression of your vision. As you progress, you’ll find satisfaction not only in the finished artwork but also in the creative process itself. Whether this is your first mural or a continuation of your artistic endeavors, the transformation of a plain wall into a story, a statement, or a piece of beauty is an achievement of which to be proud.